Pages

Sunday, February 23, 2014

Glaze, glaze... glaze

So, for the platters I did the other day I wanted to use a Chun Blue glaze. So this is one I created.

So with glazes the full large bucket is about 10.000gm of dry glaze, so this is the final weight you set.  We are tending to do 1/2 bucket for most of the glazes but after some discussion we think only the very well used glazes should be made this large.  Our standard size will be 2,500gm.

I have made several small batches to testing things and found 1,000gm is a good test size. It also gets used up with about one round of throwing.

there are advantages to making smaller batches. In a community studio, a screw up would waste less material. But, smaller batches are faster to mix up anyway.  You can also see my hand immersion blender I use for slip. With a small enough batch I can mix it with this.  You do that with hot water and... well it mixes so much better than larger batches using the standard mixer attached to the drill.

Here is the formula for this glaze.  It is #1 because there may be other versions in the future.

Here is it with hot water


Immersion blender...
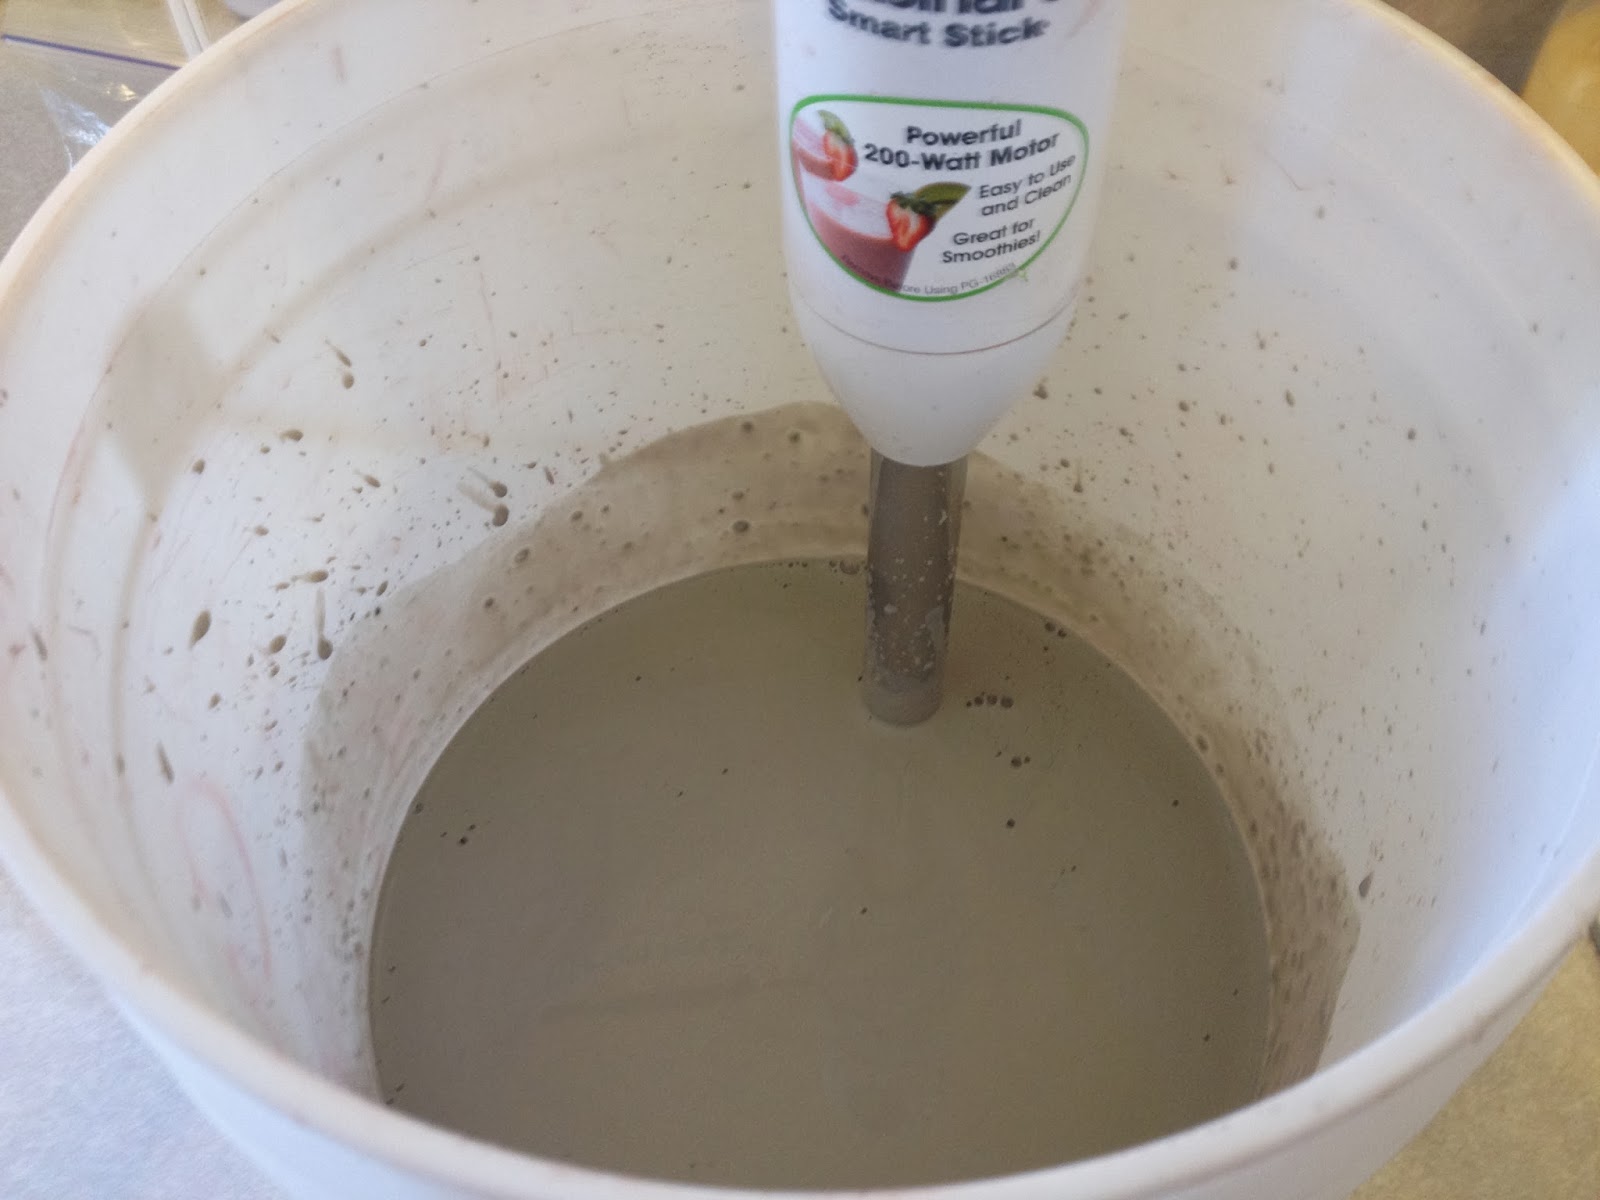

And here is the pay off for this method.  I took this pick after I poured it through an 80 mesh sieve.  It basically poured through.  Very little material to break up at all.


And we have 1,000 grams (dry weight) of Mejia's Blue Chun #1


Chalice

Chalices, goblets or wine glasses.  There are Four basic methods with throwing them. One is throw the whole thing in one piece.
Second, there the cup part and after it has dried enough, trim it and upside down add a bit of clay and throw the stem.
Third, you can throw a cylinder and creating a small disc you can separate the cup from the stem and then continue to shape from there.
Finally, you can throw the stem and cup as separate pieces and then attach. This is what I did here.

So here you can see the cup section thrown and drying.  I played around with the form on this and stem to get a sense of what I might want to do as actually sets.


Here you have the pieces put together. You can see the slip is very very red. This is a red iron oxide slip. No worries, the whole piece will be slipped so this isn't really a "mistake."


And here, after drying to leather hard, they are slipped.  The inside and rim are left with no slip except for the one you see that is right side up. These are now drying again.. very slowly. I do slow because I do not want the stems to come right off.


This one might be my favorite in terms of form.  I am unclear on what I want to do for glaze.  I do think I will reserve at least one for the soda fire.  As for the rest.. I am not quite sure yet. Given the contrast, I can do some sgraffito.  I will deal with this later. 


Last Firing

So this is the bowls that were fired from my last glazing. The rest will be Soda fired. Everything here was with clay body Speckled Buff by Laguna, a ^6 clay.  Glaze firing was done in Oxidation, electric.


This is a large bowl, you can see the pen for size.  The outside is Blue Fur, the inside is Fuzzy White under the Blue Fur.


Here the lighter color is the Fuzzy White, the darker on the outside is Blue Fur, the lighter bluish purple inside is the Blue Fur over the Fuzzy White.


Here, the same Glaze combo's but the green is Rutile Green over the Fuzzy White.


The light makes it seem a bit more jade colored than I think it is under natural light.  Also the small bowl in the back was from the scrap clay of making the majority of these bowls. The bowl with out a foot was left over clay from making the mugs and tea pot. This bowl is very thin. It feels nice but... I think it is too thin for practical use. I like thick dishes so they can be in the dish washer and oven and such.

Glaze.. the mystery of um.. Stuff...

So I am finally going to get my Glaze Class idea off the ground.

May 3rd and May 10th, 11am to 1pm. Cost is free, though if people wish to buy pots to Raku this will be an option and will Raku on the second day.

Below is my Write Up
________________________________

Glazing: Beyond the Basics
Class is for beginners, and those that are established in there work. Often potters are fearful of creating their own glazes and those that do often follow formula like it is a magic potion, with little understanding of the "magic" behind the glaze. There is a wealth of relevant information between how to glaze a pot and the Chemistry behind the glazes that is easy to understand.
We will cover History of Glaze, How Glaze works, methodology of glaze testing, Glazing Materials and what their functions are, and the relation of glaze to firing. We will also discuss some simple tests to determine if a glaze is "food safe".
We will have hands on work to include learning the basics of how to read a glaze formula, mechanics of glaze application, creation of a line test with Iron Oxide (to create "honey"), creating a cone six glaze, experimentation with firing with our glazes.
Day one is May 3rd from 11am to 1pm
We will build the glazes and go over techniques of glazing. We will go over how to test glazes and the basics of glaze making.
Day two is May 10th from 11am until end of firing.
We will fire Raku, and review test pieces that have already been fired.
We will go over glaze materials and the function of these materials.
We will discuss simple "food safe" testing.


Monday, February 17, 2014

Count Down to Soda!

Ok here is the count down to Soda fire.  On March 30th we are doing a Soda fire and will do some reclaim as well with the pug mill.

Below is me having glazed some of the pieces, you can see them unglazed in former posts.  I think I will also do the tea and mugs in the soda kiln, those still need to be bisqued.

I will now need to make some additional pieces for this firing.  We made test tiles, that need to be bisqued. We will use our typical glazes from the community studio and then we can see what these look like in reduction and soda. I do predict that many will look the same or very close. I noticed in the prior firing the Blue Fur becomes a stronger deeper blue, but not too much of a difference. There is Rutile Green, which has copper in it.  We might end up with some red blush...


Here I did some iron oxide design on the Porcelain Urn. I also did paint the section of the lid that will touch the lip. This will help it seal.  When I do fire this, I will put Denver's Ashes inside for the firing and this will seal up her urn.

the bottles and cups that go with them are all lined with Rutile Green.  One set has a Blue Fur splash on the outside.  The other two have Water Fall brown on the outside, one only on the shoulder.

Slip Platters

https://www.youtube.com/watch?v=ixq5laAdCfw

So check out that link.

and here is me making that with some slip decoration. I will create a blue chin glaze to use on all of these. Maybe with some Blue Fur trailing for additional decoration.


Saturday, February 8, 2014

My One Request...

So this was a request made of me, to recreate a mug that was an old favorite.  It was asked at Thanksgiving and the mug was passed on to me on Christmas.  

So here were some of my offerings. All is still wet.


Here is the the tea pot. I plan on giving her this along with all of the attempts.


I still need to clean up this lid. But now everything is set to dry and I will deal with possible slip decoration and such later.