Pages

Saturday, April 12, 2014

Kind of Trapped...

So I am working today... not able to get into the studio.
AND they are doing crazy cleaning so they can paint... so I would not be able to do much anyway.
I had  run of several days where I could work and deal with pots.. but my real life has come back into play.  So getting to work back to back days is about over.

Now that is what it is, but I have to say.. it is a lot easier to knock stuff out and deal with drying when I can work multiple days in a row.  More efficient, and it keeps the momentum going.  I have lots I need to get done here within the next few days so I can get firing going  If need be I can wake up real early and get some of this work done, including loading kilns.  And I can set it to start the firing when I get home from work. This will allow the firing to occur at night for lower rates.  Given all the flat ware... this is going to take two glaze firings and I hope there are smaller items from others to fill in the gaps.

So what needs to get done:
The dinner set is still drying. I have done all the trimming.  Now I do believe I need to make three more plates, I no longer want to use the original three that I created to test out the design.  I will take those (they are bisqued already) and test out some glazes to see how well the slip work shows.  Ideally?  I would test out the new Chun Blue (see below), Rutile Green, and Fuzzy White.

I need to get all the dinner set bisqued!
I need to make the honey glaze for the dinner set.  I finally found a ^6 glaze that really looks like it mimic's the earthenware lead honey glaze

Glossy Honey ^6
(this does not total 100, I know. But it works)
----------------
Spodumene            30
Flint                       20
Gerstley Borate     14
Talc                        13
Dolomite                  7
EPK                          5
Rutile                       5


I would like to try out the new Chun Blue, my second attempt. I think this formulation will get me what I want. FYI Soda Feldspar or NC-4 Feldspar or Minspar 200 will work, or so I am told. So....

Chun Blue #2
----------------------
Soda Feldspar       38
Zinc Oxide           12
Whiting                 14
Ball Clay                  6
Silica                     30
----------------------------
total =                   100
                                  0.25% Copper Carbonate

I keep debating if I want to make mugs to go with this set... but I really like the small cups I made for the tea set. 12oz with no foot created a cup that is about 3"x3" and it hold the same "one cup" that the coffee pot references (like when it says it holds 12 cups).  This is, if you didn't know, a literal "cup" as  form of measurement (8oz).  I mention this simply because I have had this discussion with friends who don't get the reference is a measured cup and not the mug they like to drink out of.

I need to make mugs for office in springs.  I am looking at a full 1# per mug. I will extrude a handle and then alter it by pulling it.  I will center the ends of the handle to mark out the middle 2/4 (i.e. 1/4 above it and 1/4 below it).

My aunt bought a bowl of mine, I need to glaze it and get it fired and shipped out.

I did get a seal made. Actually I ordered it made as a rubber stamp. 

So all of this got me to thinking about how I process and come up with ideas about what to make. I like functional ware.  I look at pieces I like and do pictures with my iPhone. I have as the gallery on my ipad only pottery ideas. I pull from instagram and where ever else I see it on the internet. And of course there are specific people I watch on youtube, many of which are doing functional work as well.  But there are some books I keep coming back to based on the wealth of pictures as well as the discussion of functional pots.

So here are my books, if any of you are potters out there.


Tuesday, April 8, 2014

Soda Set UP

It looks like this did not get posted.. this was right before the soda firing...

__________________________________________________

Well we set up some committee's at the community studio.  Only a few of us actually work from home or can work from home. So people are dependent on the studio running smoothly.  Further, we all are aiming to making this a community.

I am in charge of the Glaze & Material's committee and I am on the Kiln & Firing committee.
Part of what we are doing is sharing our personal resources.  One example, tomorrow. I own the Soda Kiln.  Me and my partner did the classes and the work to repurpose the old electric. But.. it is a community firing.  If you are a member, then you can have work fired.

We are firing to ^6. There is a lot of work compared to an electric firing.
I got the tanks refilled.  I have three, we will likely only use two worth but it allows me to swap out when the propane freezes.  Total cost to top off the tanks, $31. So not bad at all (they were $40 a piece to get them originally..)

I made wadding, and got it all rolled.
I collected all the pieces set aside for the firing that were not mine.
I weighted the 3# of baking soda for the firing
I cleaned the shelves (carbide shelves are great!!)
I kiln washed the shelves.

Tomorrow I will spray and ash the work
load the kiln and use the wadding
and start the firing...

We are going to reduce heavy and early


__________________

I invited folks to come tomorrow, not sure who will actually attend. We are doing a reclaim day and so will try to reclaim as much clay as we can in the given time.
Folks already broke up dried clay into small pieces
I have everything slaking now with some yogurt, which will speed up the souring of the clay so we can increase plasticity making it better for throwing.
Tomorrow we will use the pug mill and see how much we can get done.

Day Three in The Tableware Set

So this is day three of creating the Tableware set.  I made more clay, you can see my helper tasted it and decided this was a good batch.


I then did a slipware design on a large plate I threw the day before, this is about 5#, compared to the 4# dinner plates.


These are 1# bowls, for soup.  I think this form screams "SOUP".


Here they are with some slipware designs. They will dry and tomorrow I will do some trimming to round off the edges.


This a small tray, to the right you can see a bat for size reference.


This is a longer tray, you see the bat to the right again for size reference.


This was 6#... then I threw more clay on top.  It is about 7#, but not really measured.


Size reference, you can not see the wheel head. To clean the bottom I had to take off the splash pan as my hands would not fit.


Another shot of this platter.


 And here we are, it dried outside a bit so I could slip design.


Tomorrow I will trim both sets of bowls, as well as the plates.  I intend to put a small shallow foot on the large bowl, but we will see if I really left enough of a bottom to do so. The small bowls will only have the edges cleaned up, as will the plates.  The platters will need a few more days of drying. I put them on bats that will allow the platter to just pop off when dry enough. I will then clean up the edges, no foot.

I have a honey glaze that is ^6. Unlike most honey I have seen (which was usually earthenware), there is no iron oxide for color but Rutile is used instead.  From what I have seen, this is just the glaze I have been looking for to create the slipware look at ^6.

Sunday, April 6, 2014

My 4 Hours Today...

So I used to measure, when doing classes, how much I could throw in a class period.  that was quite a while ago, and I can get a lot more done in a few hours. So here are my four hours today.

So it starts will making some more clay.  I used up all of what I took over when I made the plates and even took some of Jessie's so I could make a total of 6, so I would have 9 plates in that series.  I got the clay started, then ran to the store to get dog food while it mixed.  Then I pugged, in all I took about 30# this time.


I pulled out my slip. I store it open because I use it for a variety of things. It is thick, but I add water to get the consistency I want.  If I need it very liquid, I would take only part of it out to do this.  It allows it to be flexible.  In this case you can see the brush, I made the Iron Oxide slip (which is very dark in this case) as thick as house paint, the white I made as thick as regular yogurt.


Here are the six plates I made the day before.  I cut them off the bat as they were dryer now.  I often cut things off when I make them and small things I often take right off the bat after throwing.  Plates are tricky. I let them dry before I cut them off, let them dry some more until the lip can support the plate and then I flip them to finish drying. 


This should look rather familiar, this is how I decorated three other plates when I was testing out this design idea.


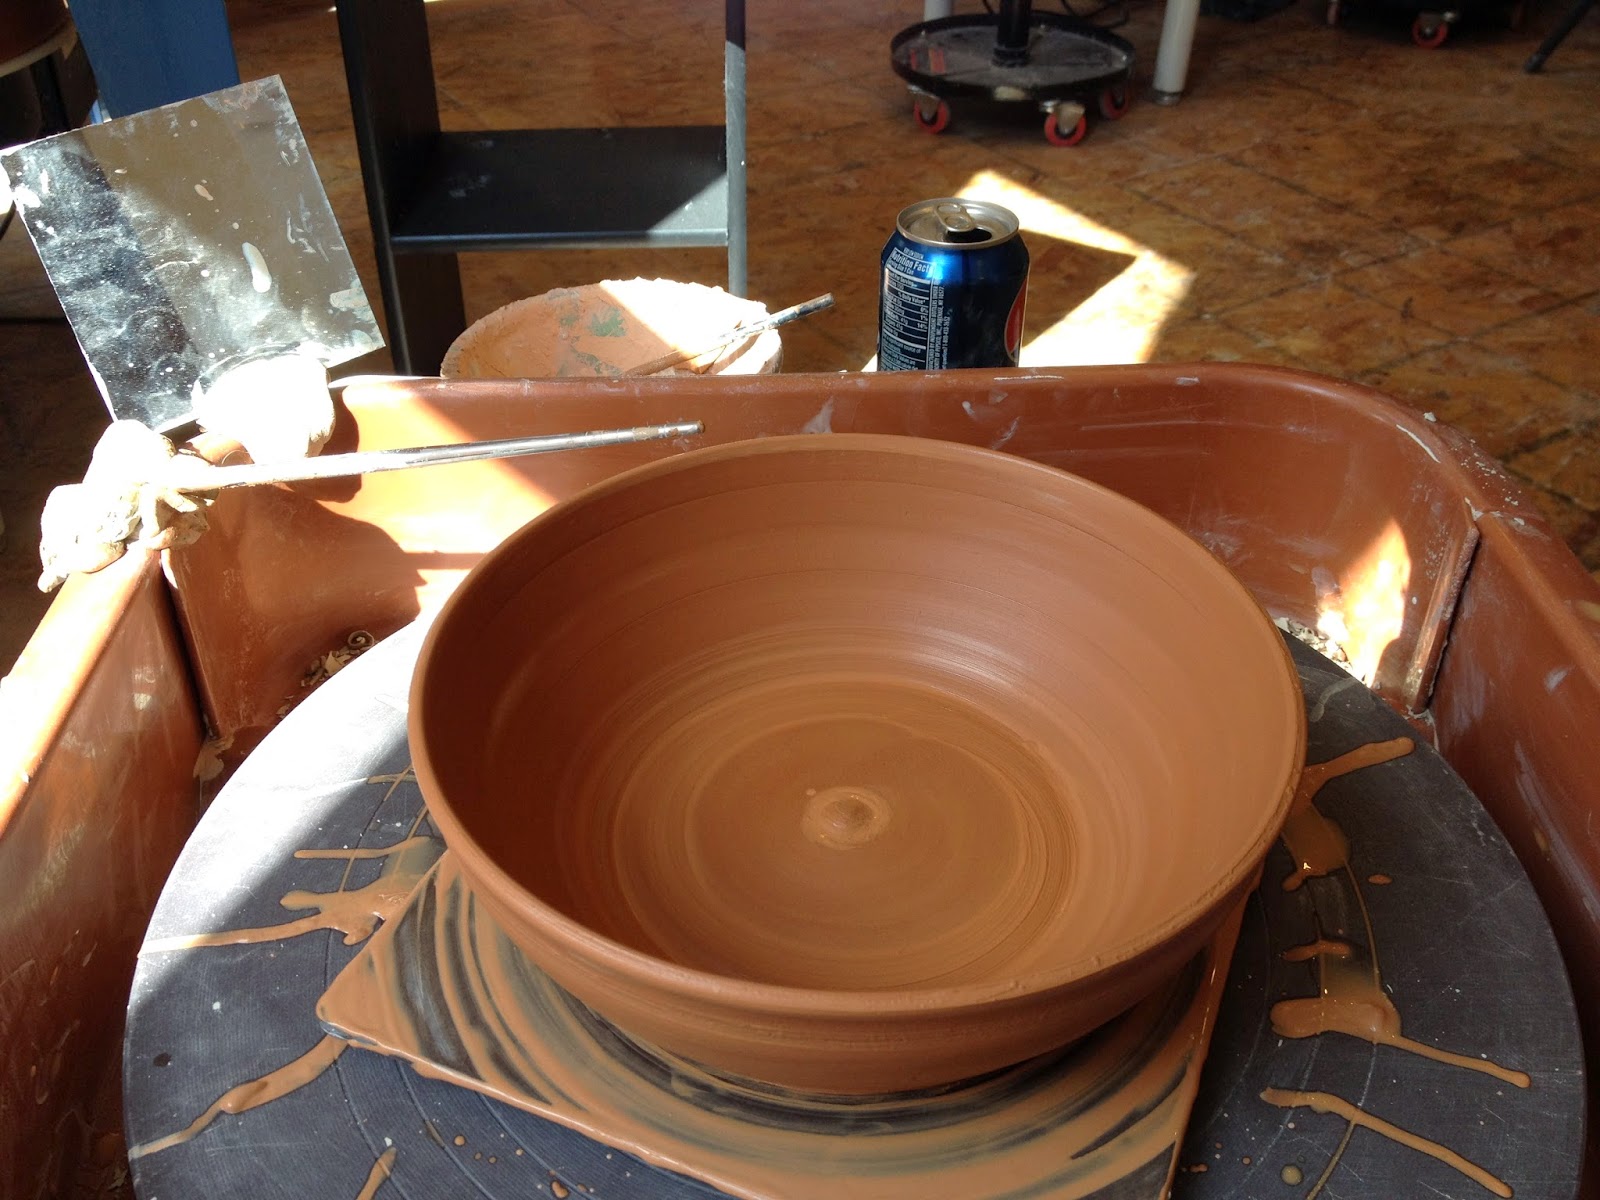
Here is the companion salad bowls.  You can see size based on the wheel head.


Here for comparison is the large Salad Bowls, a small serving dish (think blue cheese), and a large serving bowl.


And here they are decorated in similar fashion.


As are the rest of the bowls.


So everything needs to dry.  Given the added moisture of the slip, I did not cut off the bowls but will do so tomorrow. Everything is being dried very slowly given I am doing plates.  Tomorrow I will likely remove everything from their bats, and place them on ware boards to finish drying.

Once dry enough they will bisque and then... still not sure what I am doing for glaze.  It needs to show the design, but given the background of this slip it will allow from more than just clear being used.

The Tea Bowl Project


ok, so this did not quite work... well not the way I wanted.  I threw these yesterday, very thick. This was so I could get a very large foot on each of them, and then so I could trim the sides to make it pretty smooth. All in prep of sgraffito on the three...


Then when trimming one flew off the wheel and into my bucket.


but I did get them covered in the very dark Iron Oxide slip.
Ready to dry and then start designing.  I may pass off both of them to Emily I think.


Saturday, April 5, 2014

Run of Pots...

So my work life got strange.  I have a lot of reports to write, but canceled a week long trip for training.  I think I bought myself some extra time.  I am aiming to throw a lot during the first part of the week.  I want to bisque by thursday and glaze saturday. This means the pots I am doing could be done in a little over a week.

First up plates


I really like plates, but I don't make as many as I do of bowls. I need to make more to get a consistent look.


And sometimes, it just doesn't work out... this 3# did not want to be a plate.


Final look at the plates drying, next I will add the dark iron oxide slip and move on to slip decoration to match the other three I already did.


Unrelated project.. super thick bottomed tea bowls.  I will trim a really big, deep foot.  I will do slip and then carve into them.  One will go to my tattoo artist for her to try out.


Wednesday, April 2, 2014

Test Tiles Results

So here are the results of our test tiles. The tiles I created have three dips, so you can see at the top if crawling occurs due to being too thick.  You can see with the number carved into the tile, how the glaze responds to texture, and finally you have an Iron Oxide line on the left side of the tile, so you can see how this effects the glaze.

The pictures are with these test tiles, fired in ^6 Soda Reduction.  Next to them is a "tile" in oxidation.  I did not do these, they are the simple version of just glazing them.  there are  two exceptions that I will discuss below. This is from the last soda firing, and so it was a "dry" firing, tending towards blushing rather than orange peel

Ok so why the test tiles?  For non-potters and newbies...  In reduction, which was done in the soda firing, the oxygen in the kiln was reduced. The flames need to breath so oxygen is pulled from inside the pieces.  For some oxides this creates a chemical reaction which changes the color.  Copper Red glazes are created this way, changing a green copper to a strong copper red. This is one of the most extreme examples.  Similarly, this changes the look of the clay itself.

Also an issue, beyond reduction is the soda.  Any non-electric firing is going to have some level of reduction.  However the addition of soda adds a new chemical reaction. This tends to "bleach" the glazes, making a softer, fuzzier version.

_______________________

This is no glaze, to show the contrast I am showing the same clay fired to ^6, it happens to be the bottom of Angela's mug.


This is Egg Shell. You can see with it being too thick it will crawl. good to know. But better to know... it is ugly in reduction.


This is Fuzzy White, it turns beige in reduction.  Clearly the iron can be seen.


This is Rutile Green.  It is nice in oxidation, but you see how interesting and varied it becomes in reduction.


This is Water Fall Brown. Here we have a test tile issue, the current bucket is very thin so it affected our results.


This is Blue Fur, not much of a difference.

This is Slate Blue, you can see some of this bleaching effect.


This is Amber, and again good to know it comes out pretty ugly


This is Black, you can see a bit of a difference. The camera did not pick it up very well, there are some swirls in the glaze.

I tried a close up of the Black here to show that better.


This is Malcolm Davis Shino.  The test tile on the left was in oxidation, the right is a bowl I did.


Here there is no test tile.  This is a Celadon. The top is fired in oxidation, the bottom two are the same soda firing. So what is the issue?  More reduction in one area of the kiln than another. there is copper in this glaze, and it started to shade towards a red.  Not a bright red, there is not a lot of copper in this glaze.  (This Celadon is for ^6 oxidation, to create that look. Therefore it has copper and the green is not created from iron.)